
Set Up a Guest with a Grata Account
Summary
Step-by-Step Instructions
1Step 1: Open Manage Access
- From the Grata Smart Living home screen, tap Manage Access, then tap Add New Guest.
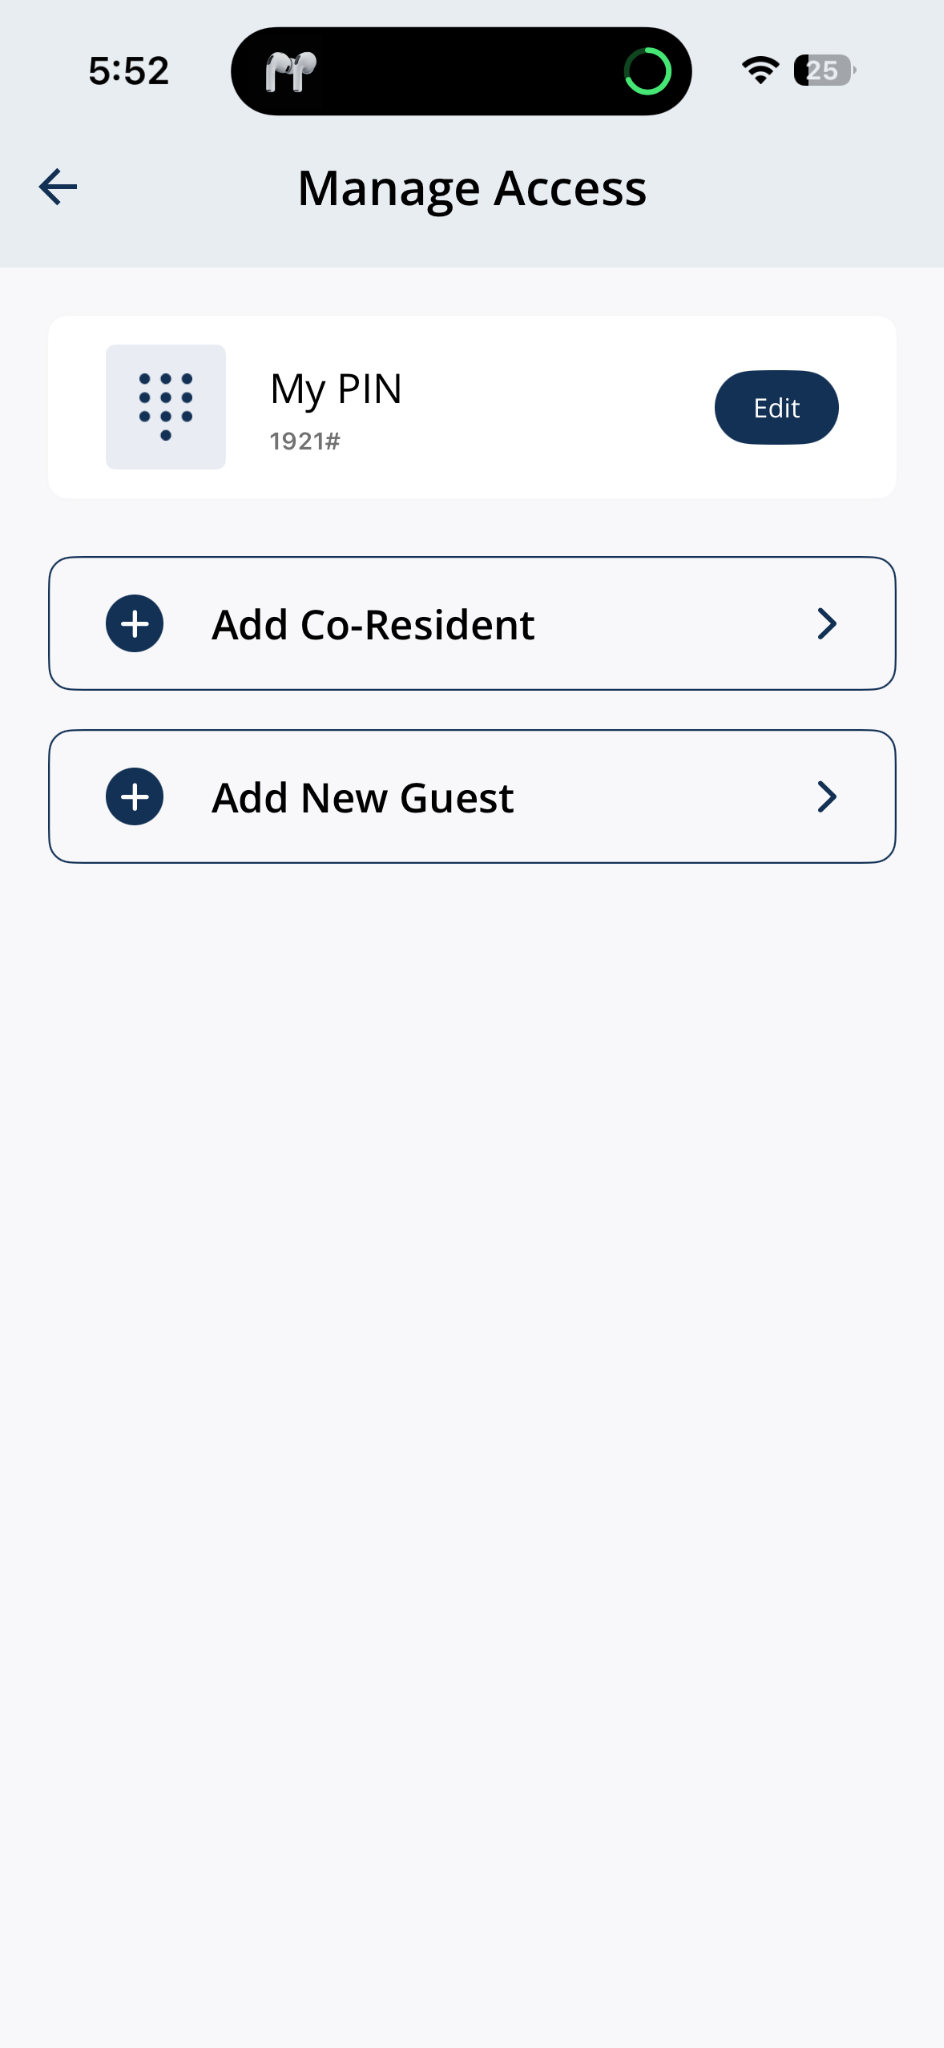
Open Manage Access and tap Add New Guest.
2Step 2: Choose Guest App
- Select Guest App, then tap Okay.
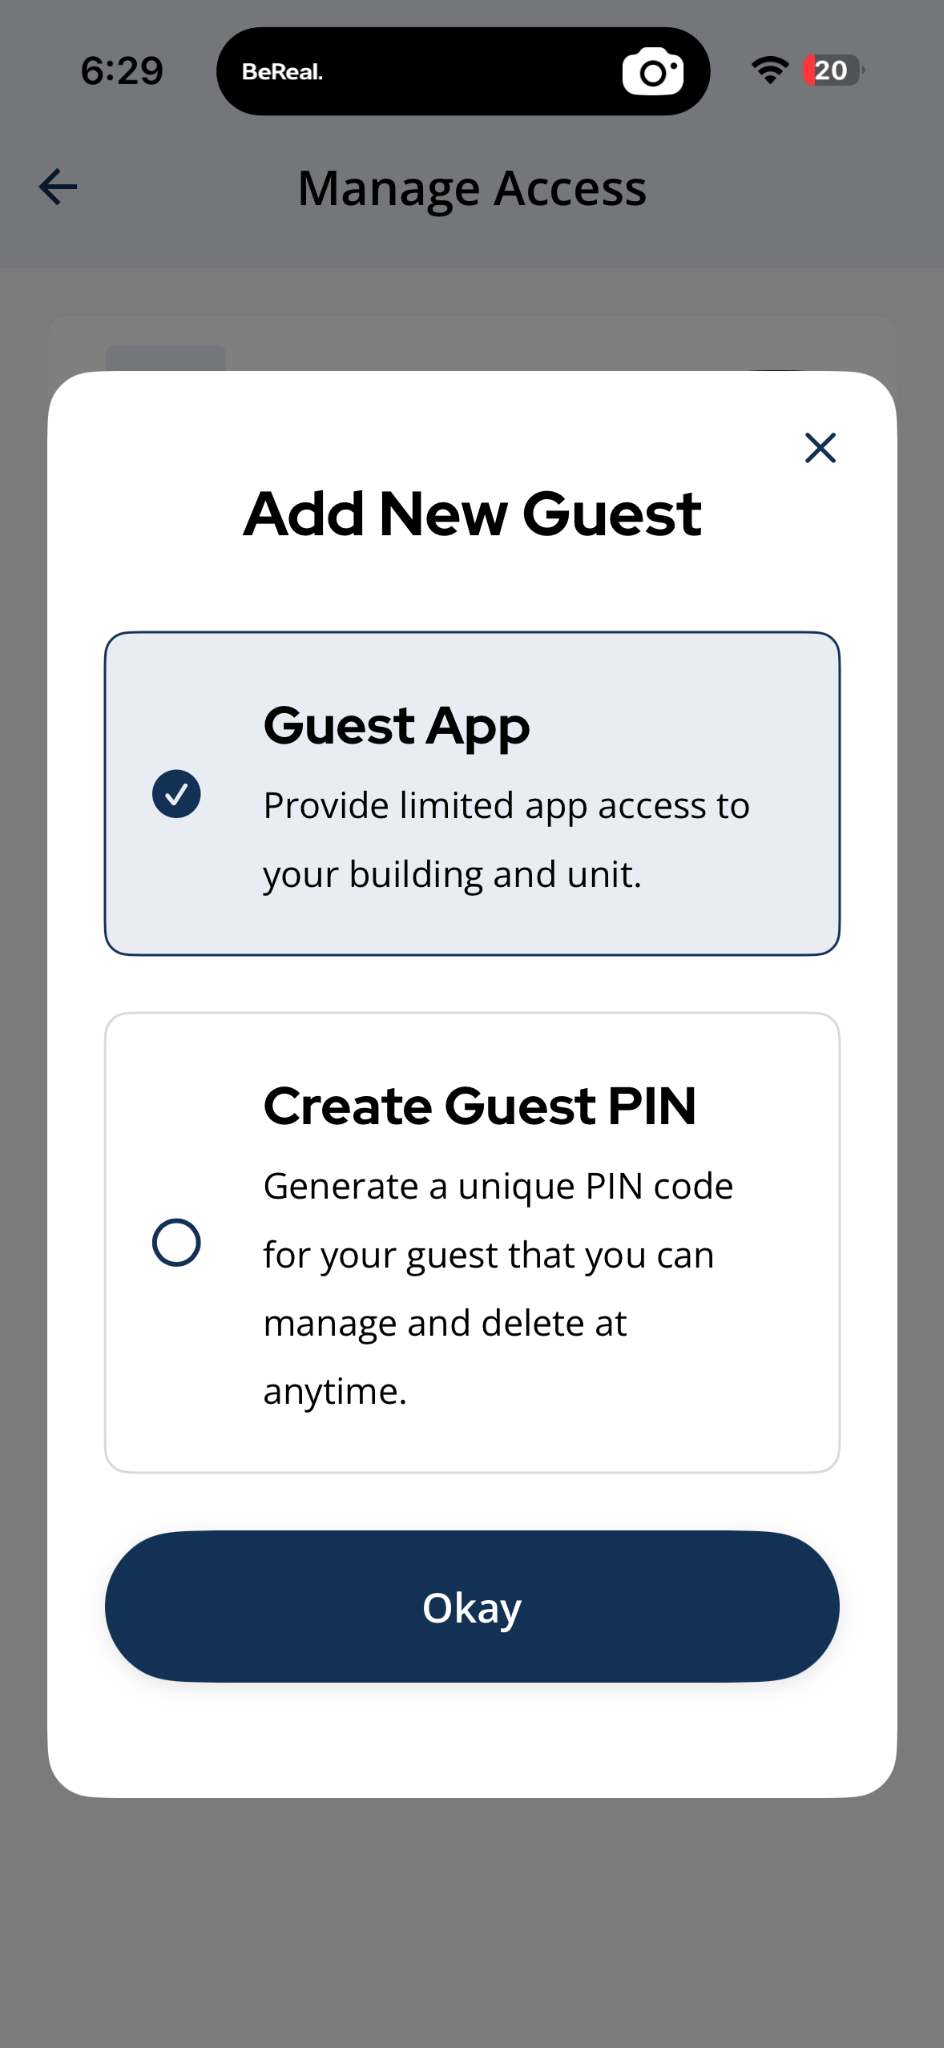
Choose Guest App, then tap Okay.
3Step 3: Enter the guest's details
- Enter First Name, Last Name, Email Address, and Phone Number, then tap Send Invite.
- Access options such as dates, time limits, or allowed doors may appear depending on your building's setup.
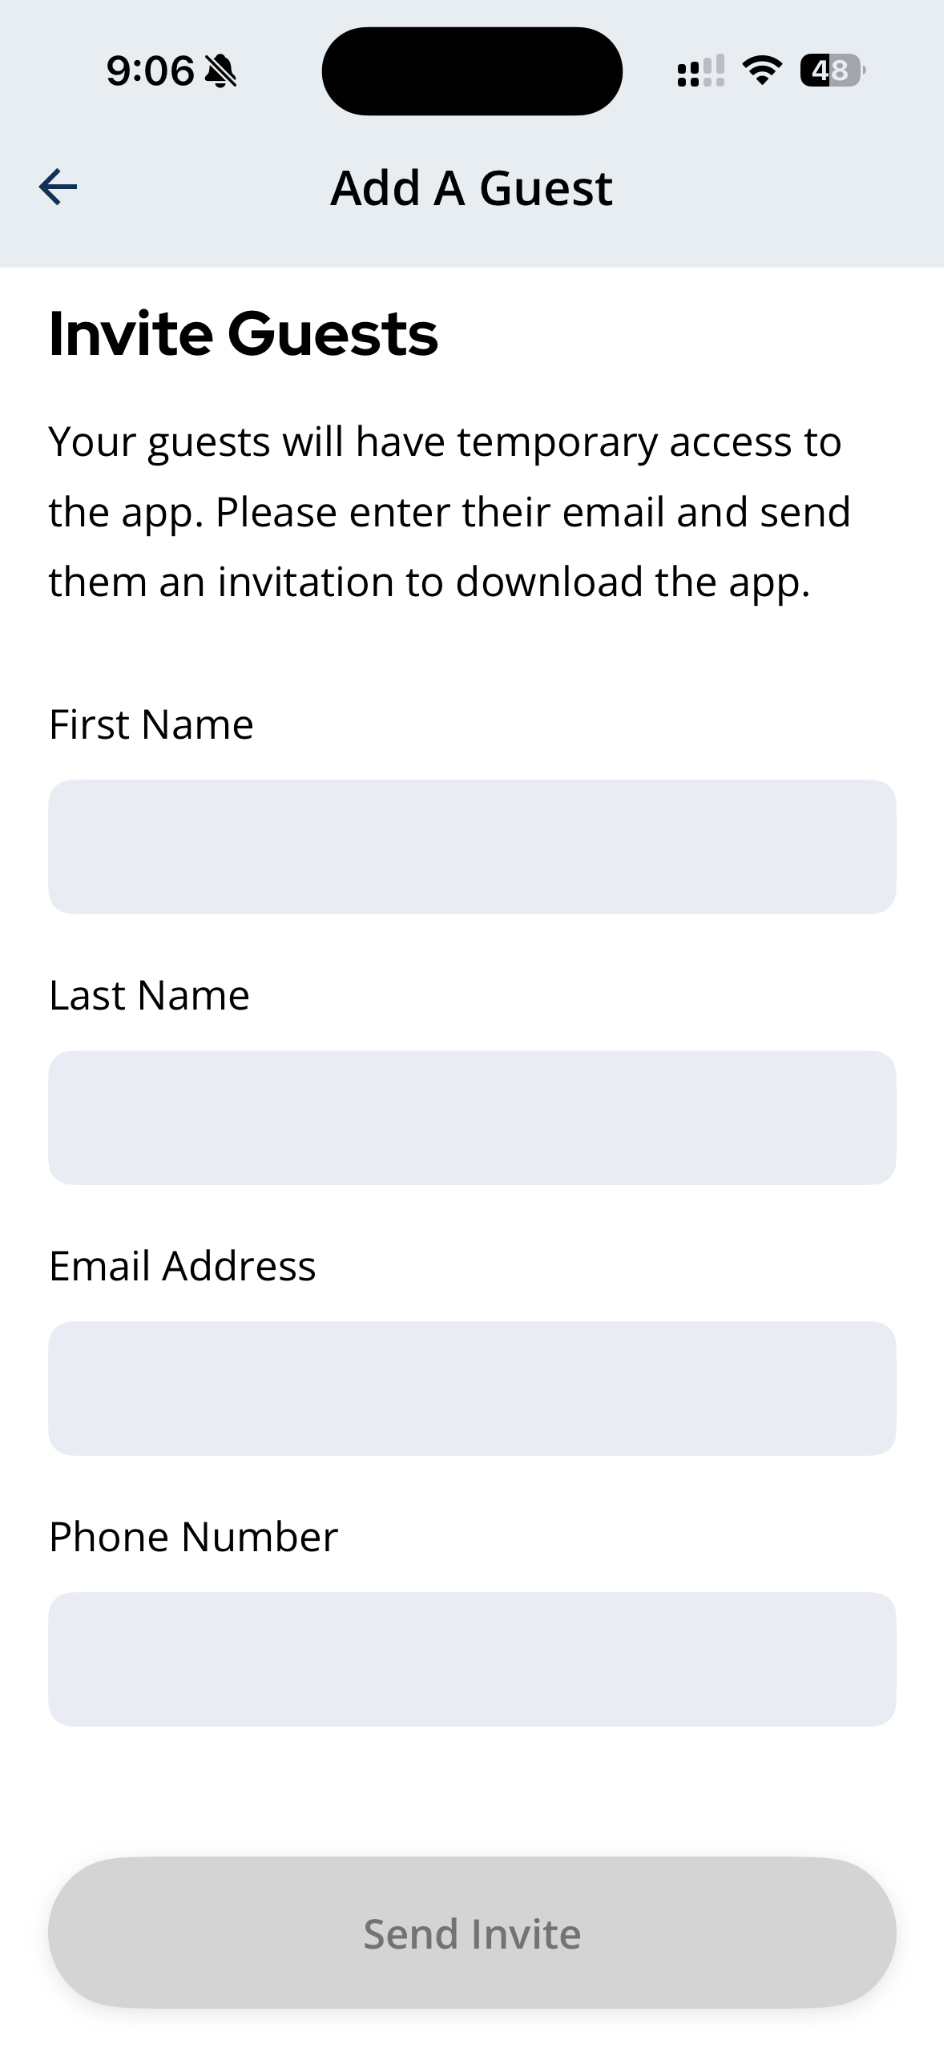
Enter the guest's contact details and tap Send Invite.
4Step 4: The guest sets up their account
- The guest receives an email invitation. They follow the link to create their own password and set up their Grata guest account — this is a separate account from yours.
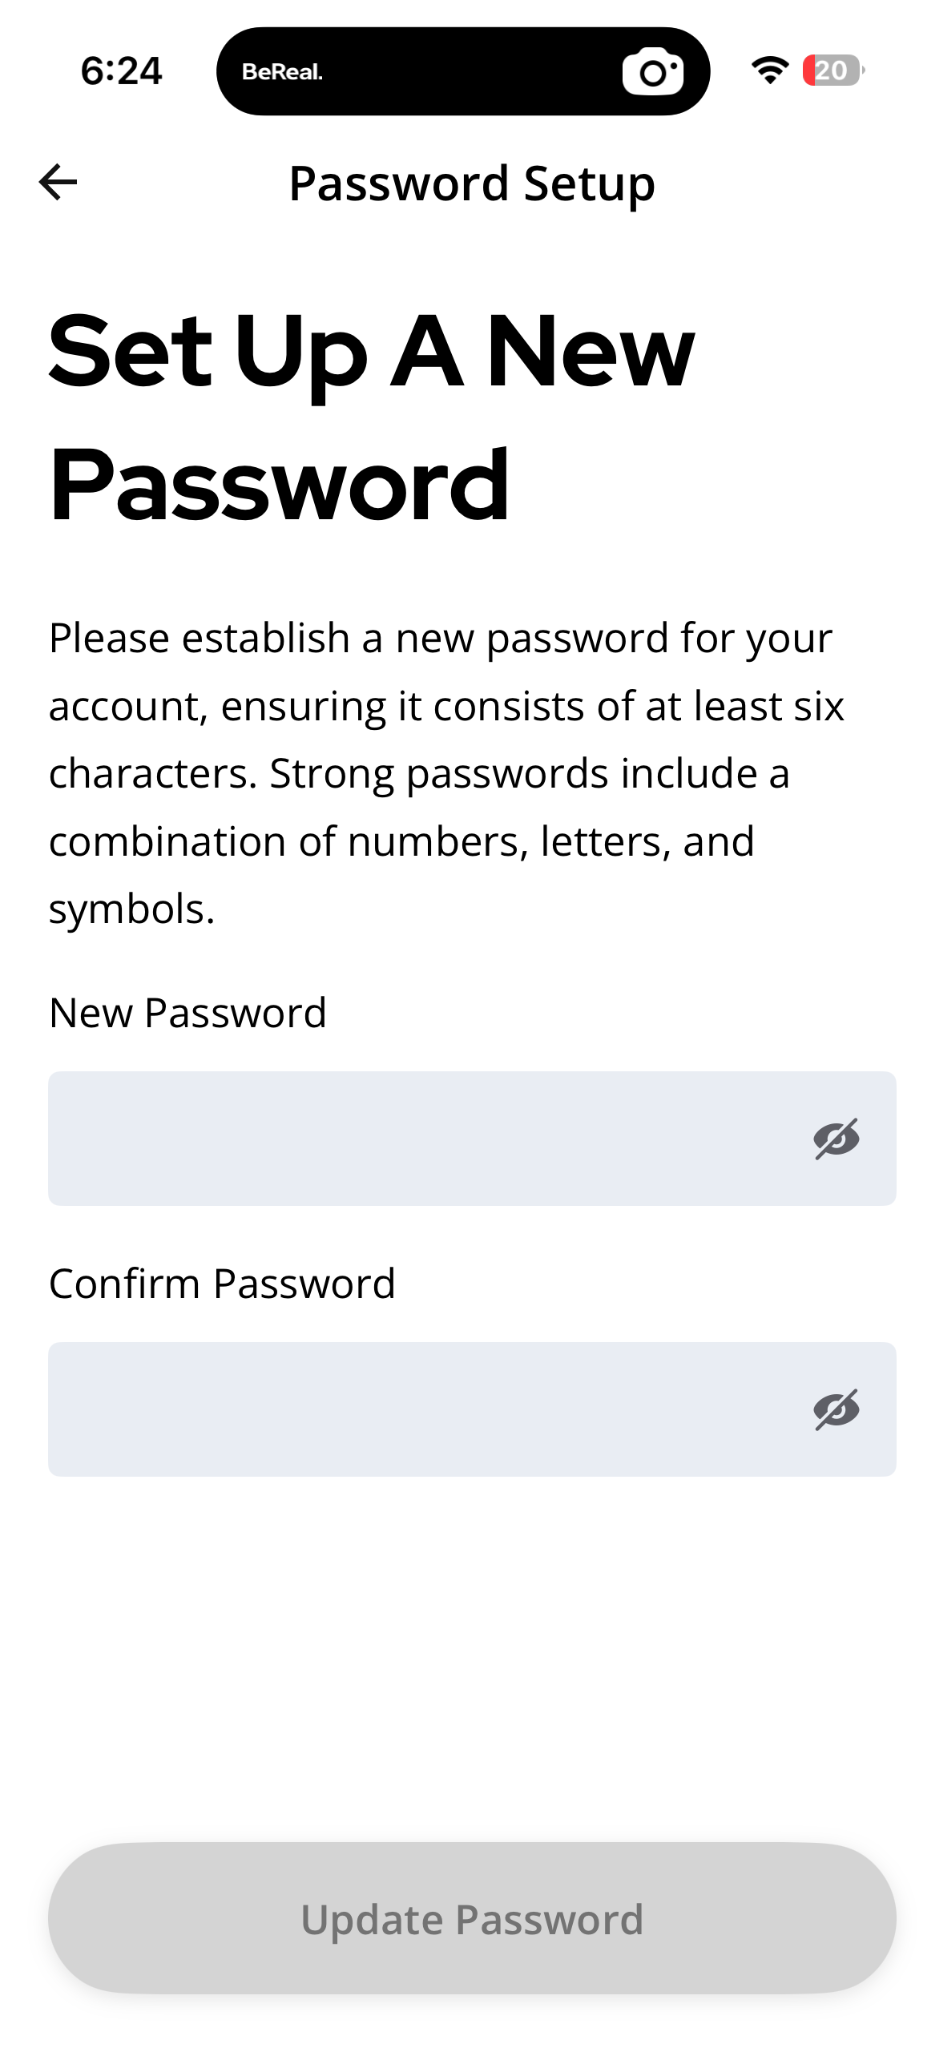
The guest creates their own password to activate their Grata guest account.
5Step 5: The guest account is ready
- Once the guest completes setup, the app confirms their account is active. The guest can now use the Grata app for approved access.
- If the guest did not receive the invite, ask them to check spam or see Guest Did Not Receive Access.
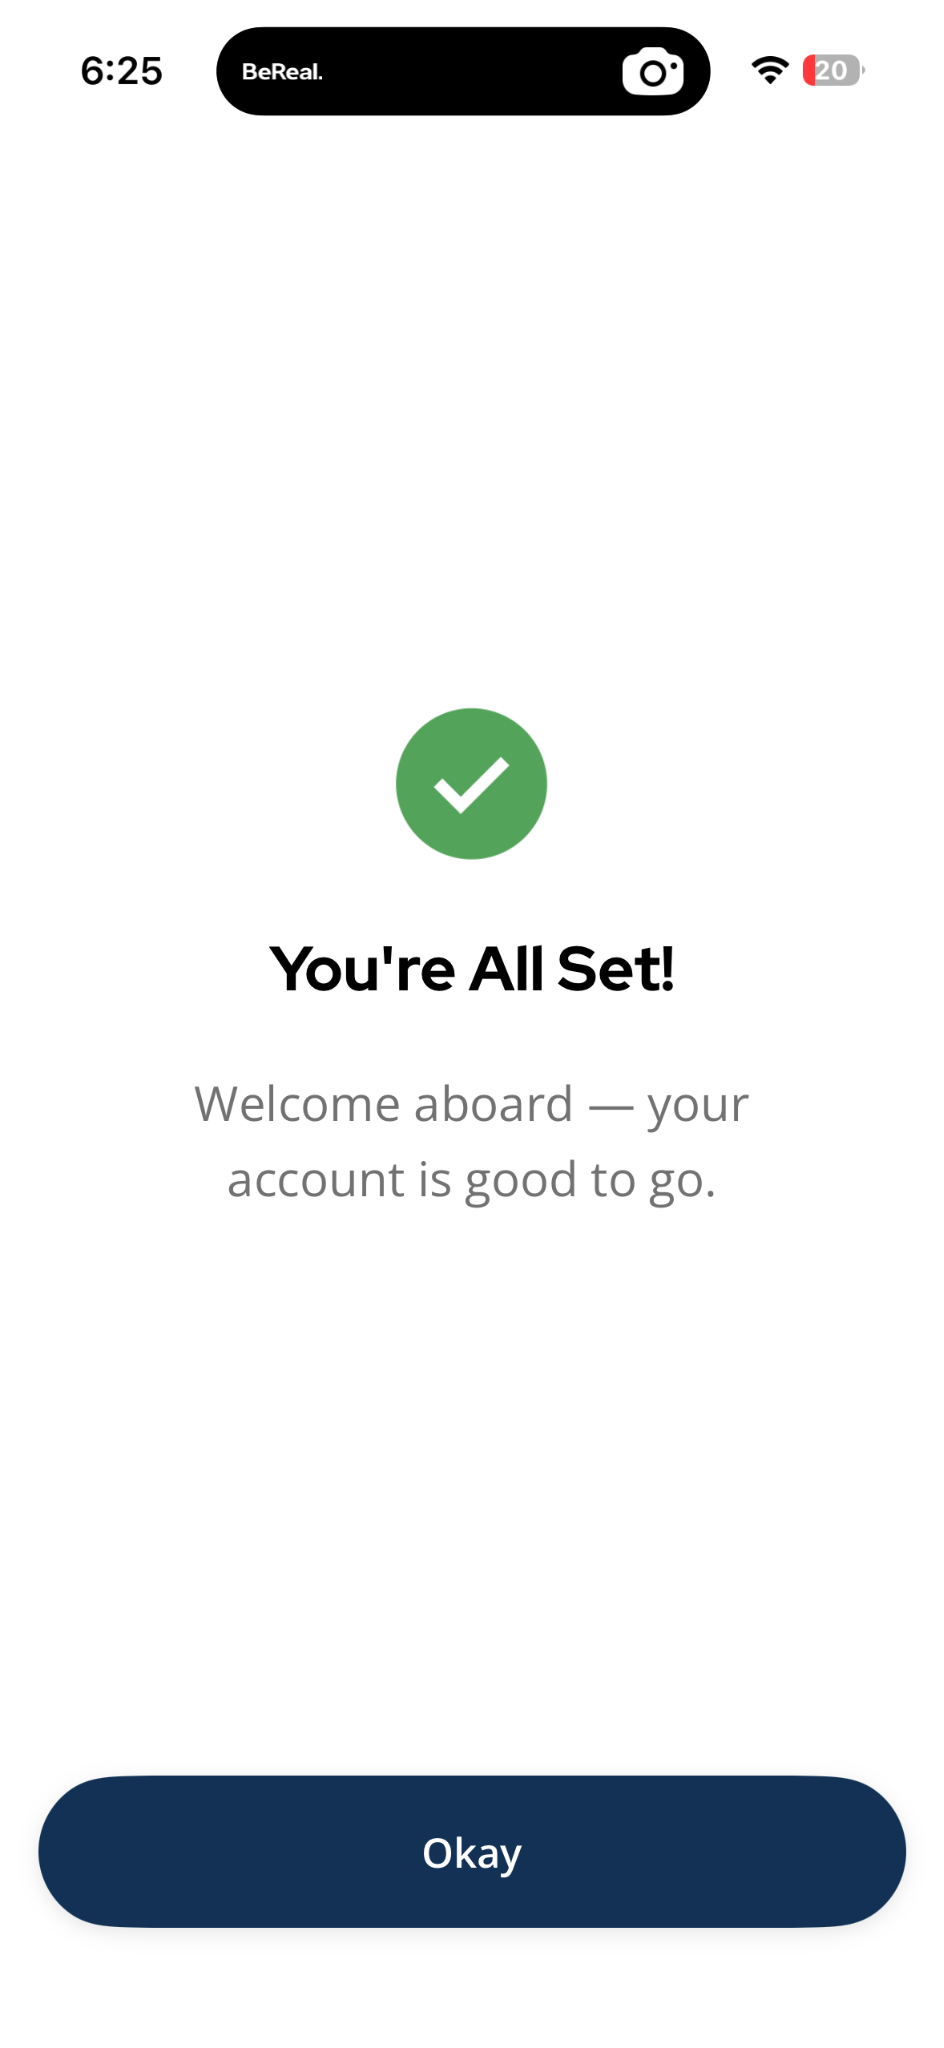
The guest's Grata account is set up and ready to use.
Related articles
Add a New Guest in the Grata App
2 min read
From Manage Access, choose Guest App or Create Guest PIN when adding a new guest.
Create a Guest PIN
1 min read
Create a named guest PIN from Manage Access > Add New Guest > Create Guest PIN.
Remove Guest Access
1 min read
End a guest's access early — works the moment you tap, no notice required.
Manage Access Overview
1 min read
Manage Access is home for My PIN, Intercom PIN, co-residents, and guest invites—open the linked article for ea...
Delete a Guest PIN
1 min read
Use this guide to set up, enter, or troubleshoot PIN-based door access.
Edit a Guest PIN
1 min read
Change an existing guest PIN from Manage Access > Manage Guests > Edit—not your personal My PIN. Stand near th...