
Create a Work Request
Summary
Step-by-Step Instructions
1Step 1: Open the Grata app
- Open the Grata app on your phone.
2Step 2: Go to work requests
- Tap Work Requests in the bottom navigation.
- Some buildings label this area Requests, Service Requests, or Maintenance Requests.
3Step 3: Start a new request
- Tap Request a Service or open the Create A Ticket tab.
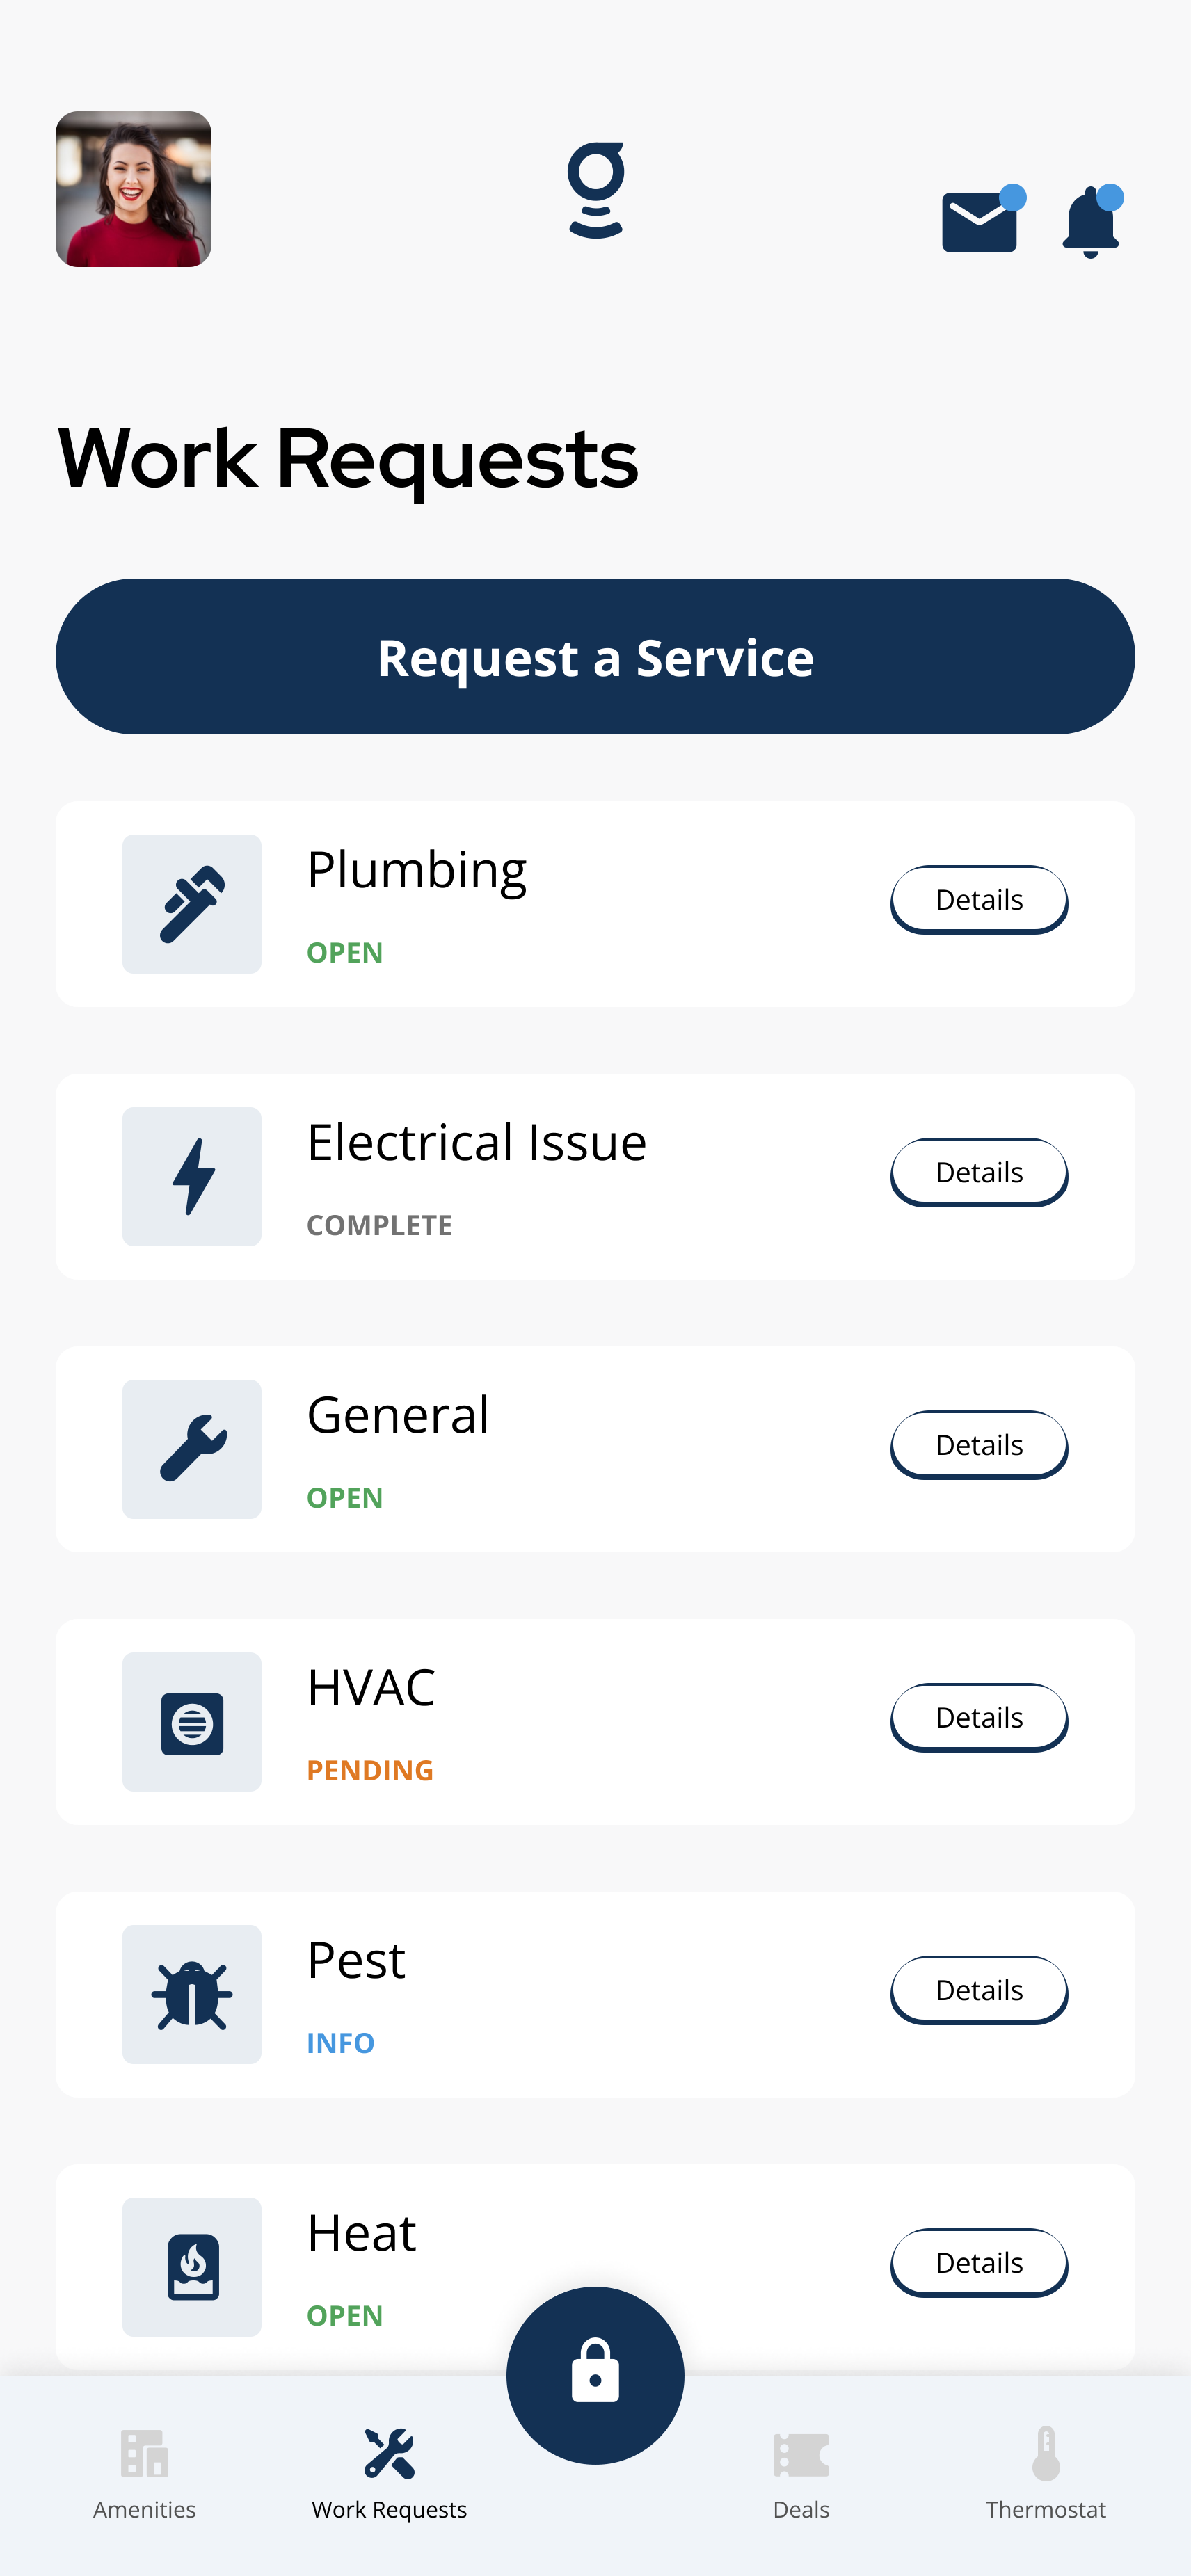
Tap Request a Service from the Work Requests screen to open the request form.
4Step 4: Choose the request category or issue type
- Select the category that best matches your issue, such as plumbing, electrical, general, HVAC, pest, or heat when shown.
- Select the issue type if your building shows a separate field.
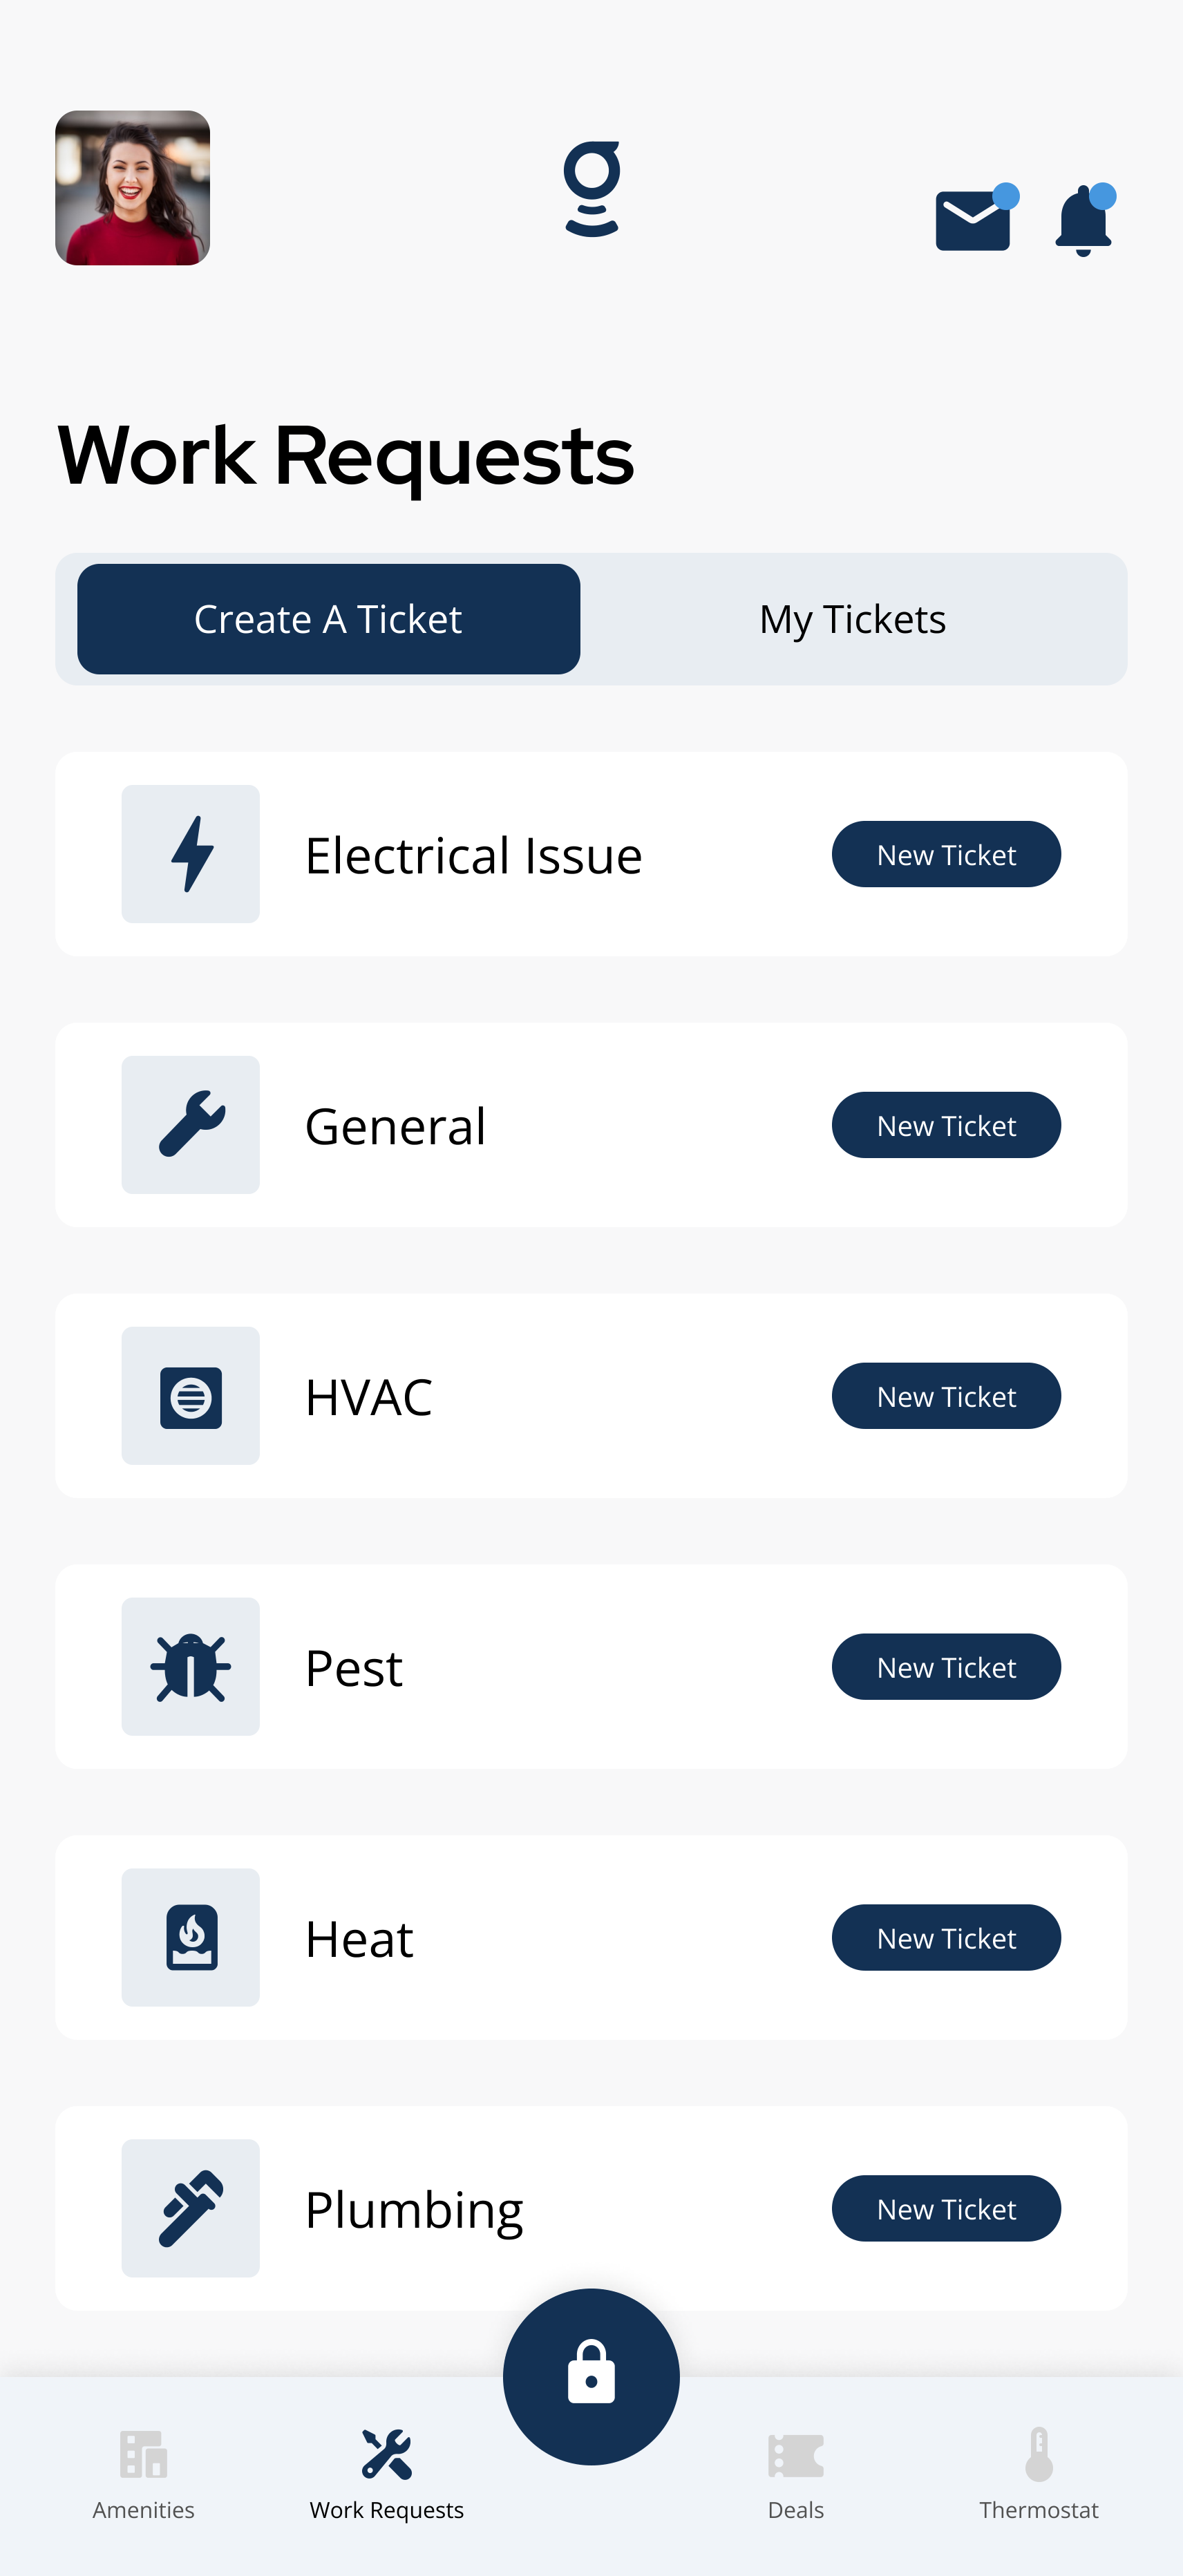
Select the category that matches your issue from the categories list.
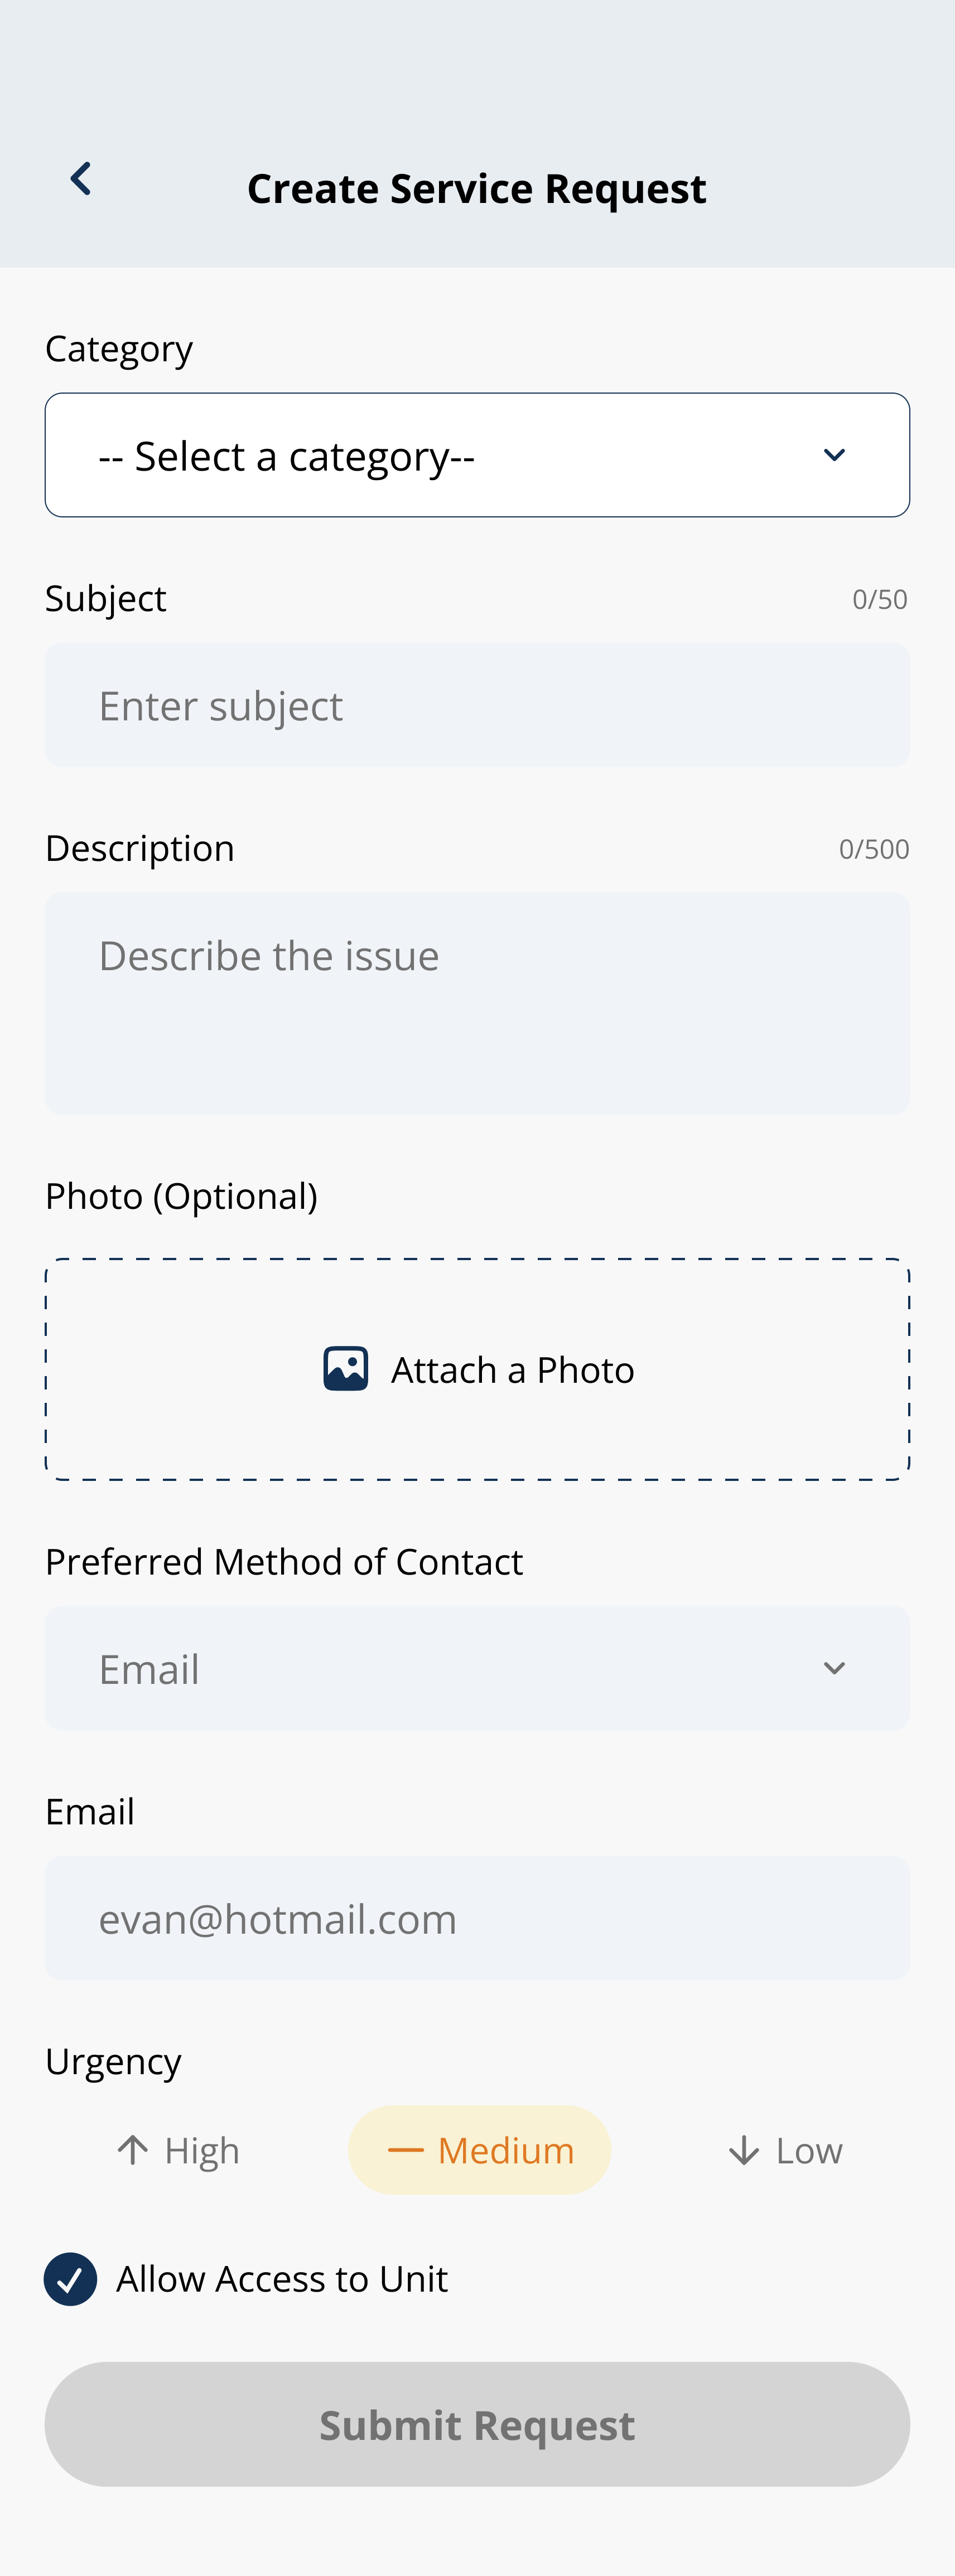
The request form may ask for category, subject, description, photos, contact preference, urgency, and access details.
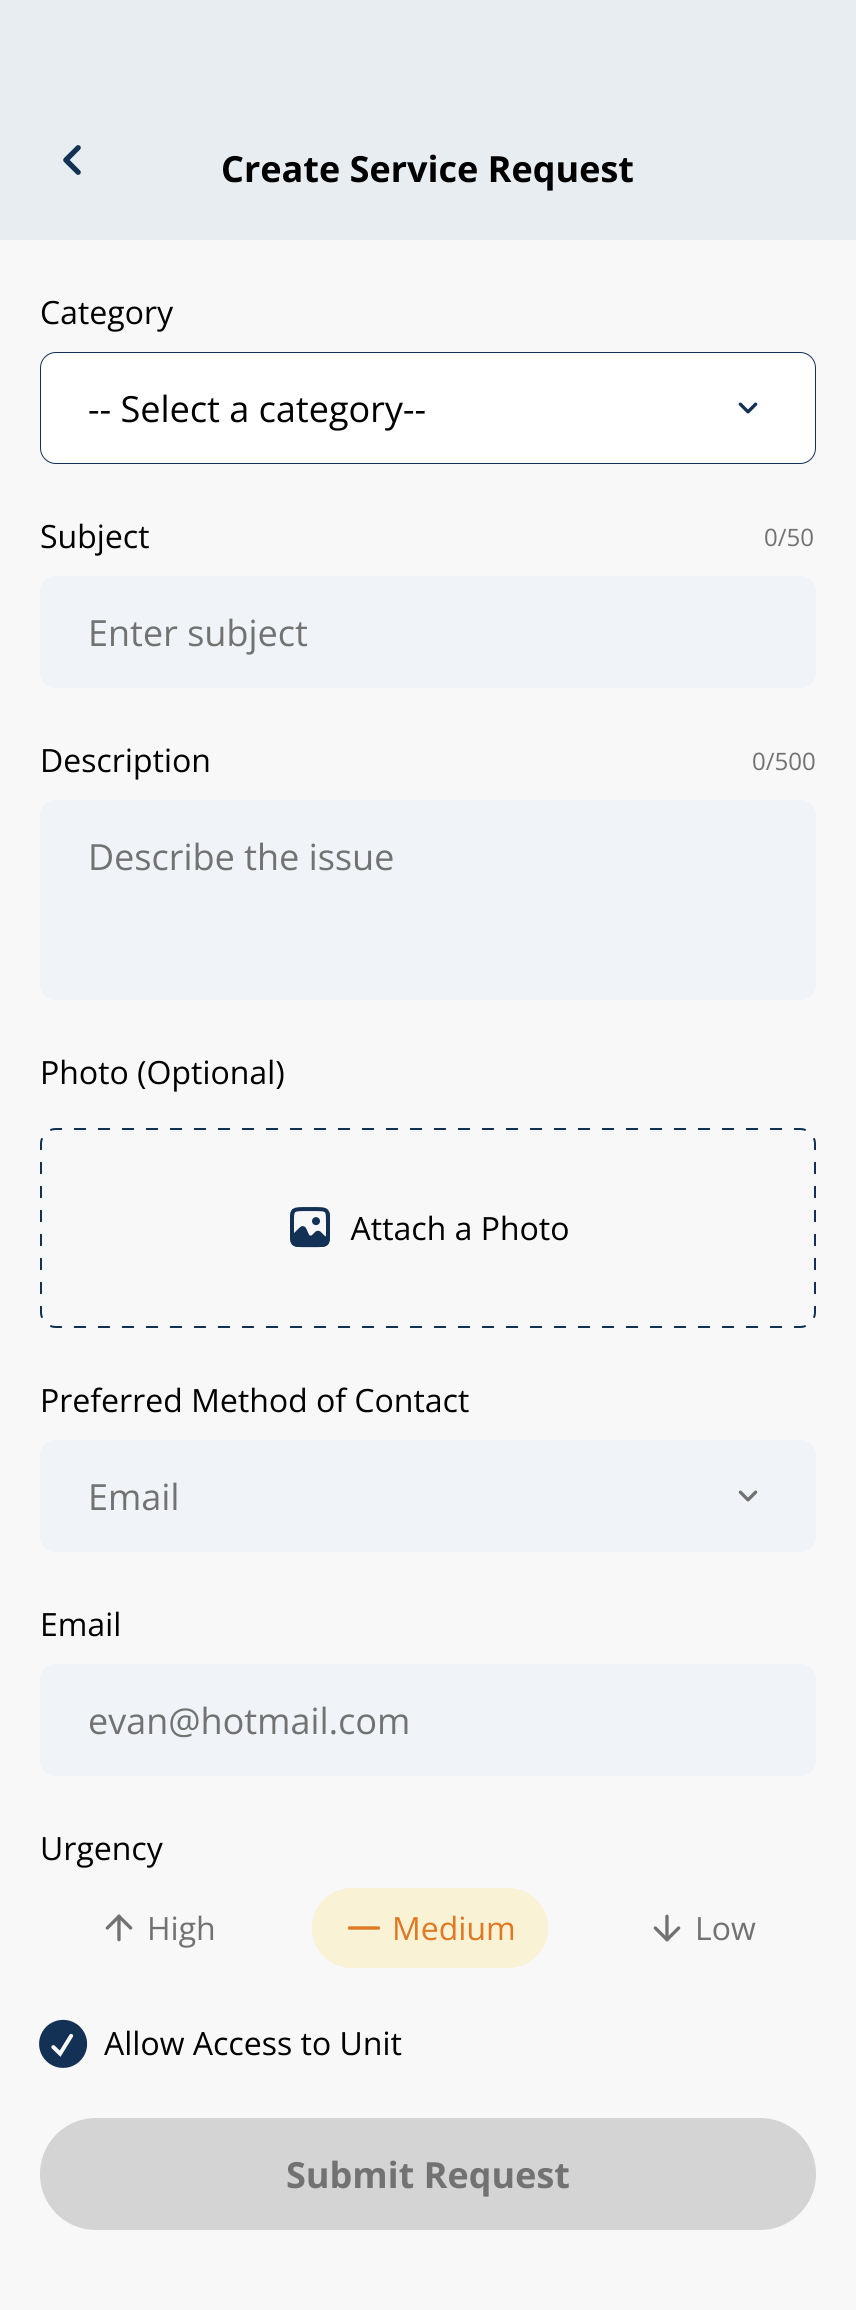
Choose the category that best matches the issue.
5Step 5: Add a clear description of the issue
- Enter a clear subject.
- Describe what is happening.
- Include useful details such as where the issue is, when it started, and whether it is getting worse.
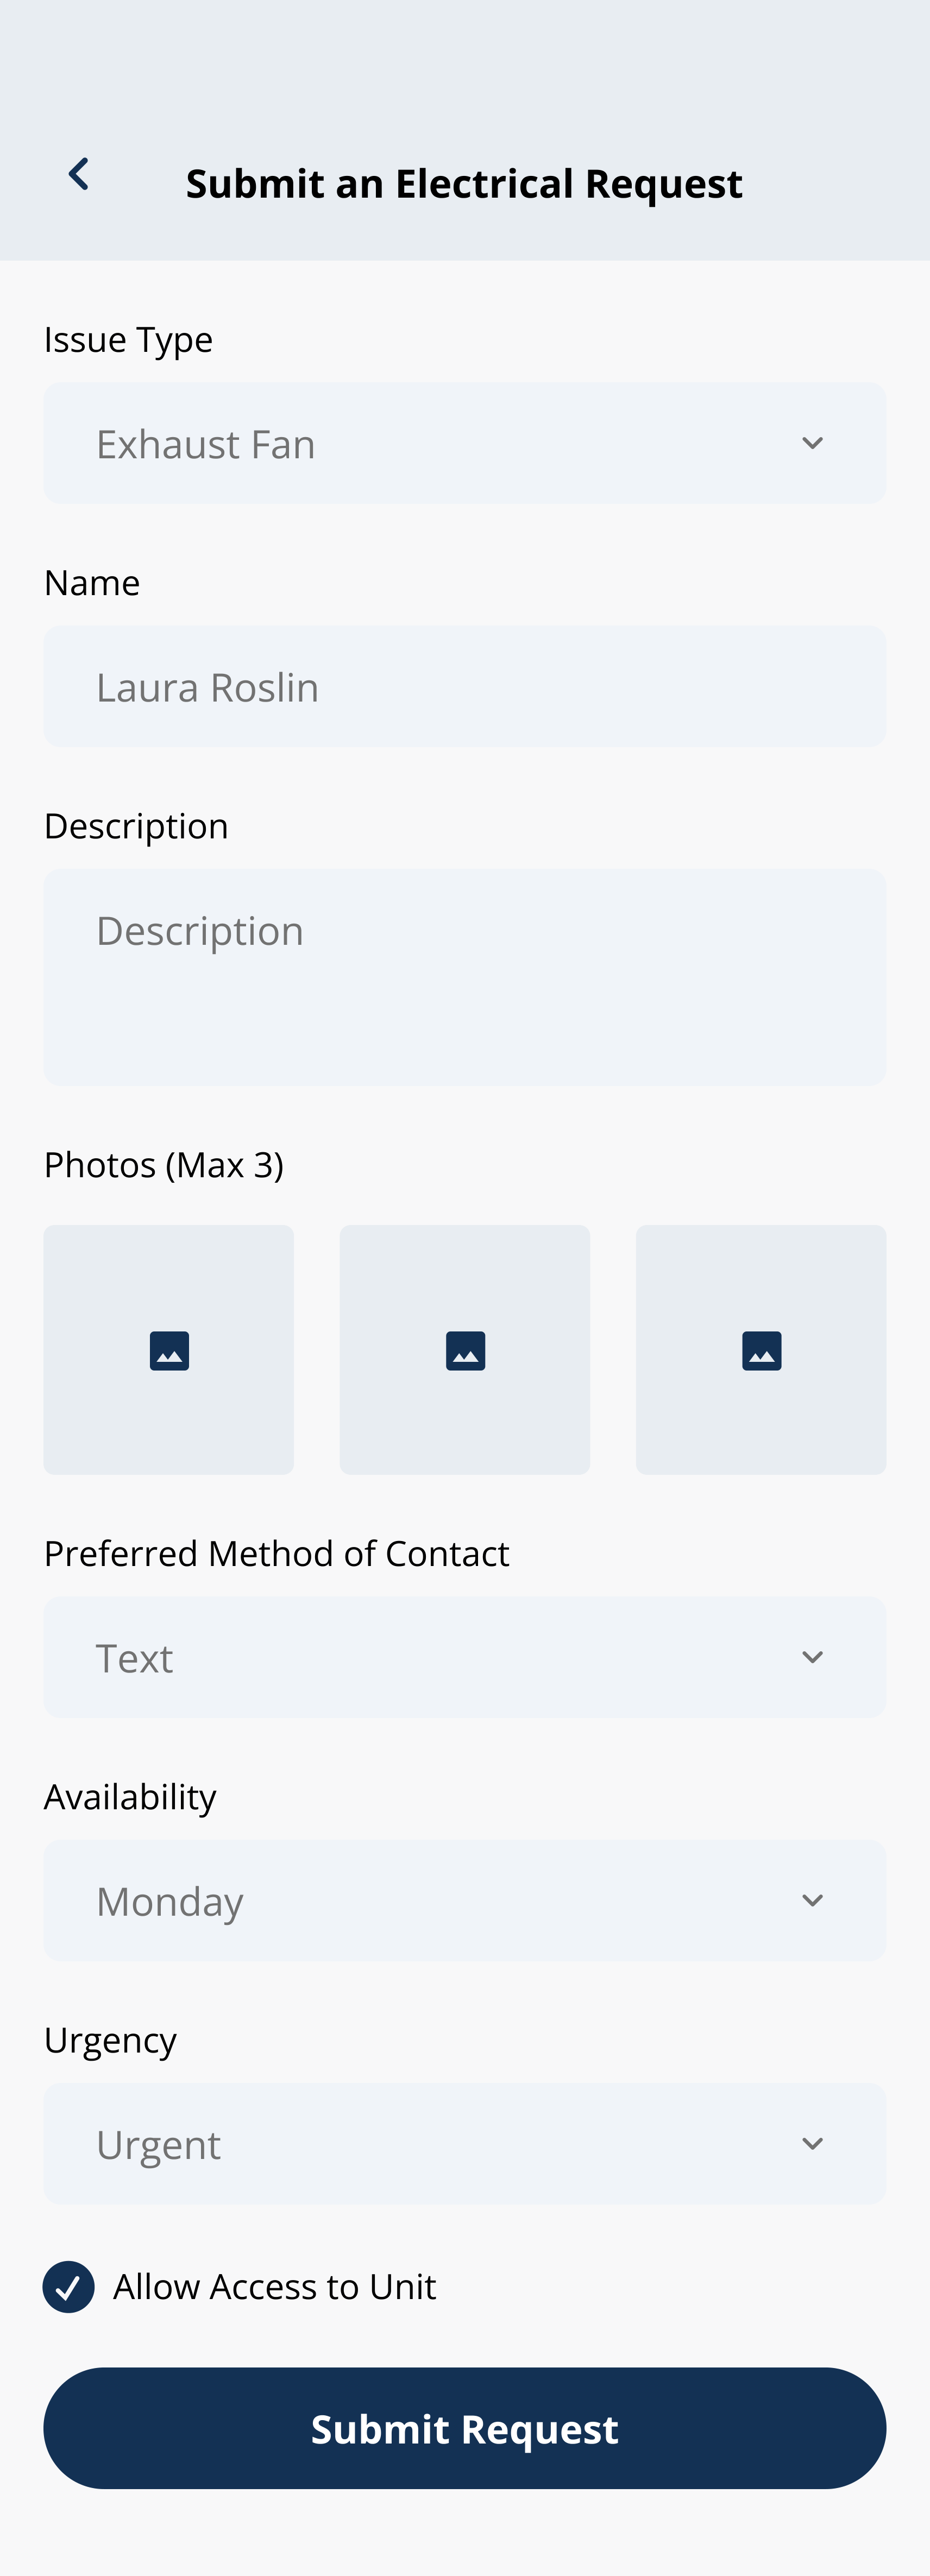
Complete the required fields before submitting the request.
6Step 6: Add photos or attachments if available and helpful
- Attach photos if the app allows it.
- Photos can help show damage, leaks, error messages, or the exact location of the issue.
7Step 7: Add access notes or availability details if requested
- Select your preferred method of contact.
- Add your availability if requested.
- Choose the urgency level.
- Only allow access to your unit if you are comfortable doing so and your building supports that workflow.
8Step 8: Review and submit the request
- Review the details before submitting.
- Tap Submit Request.
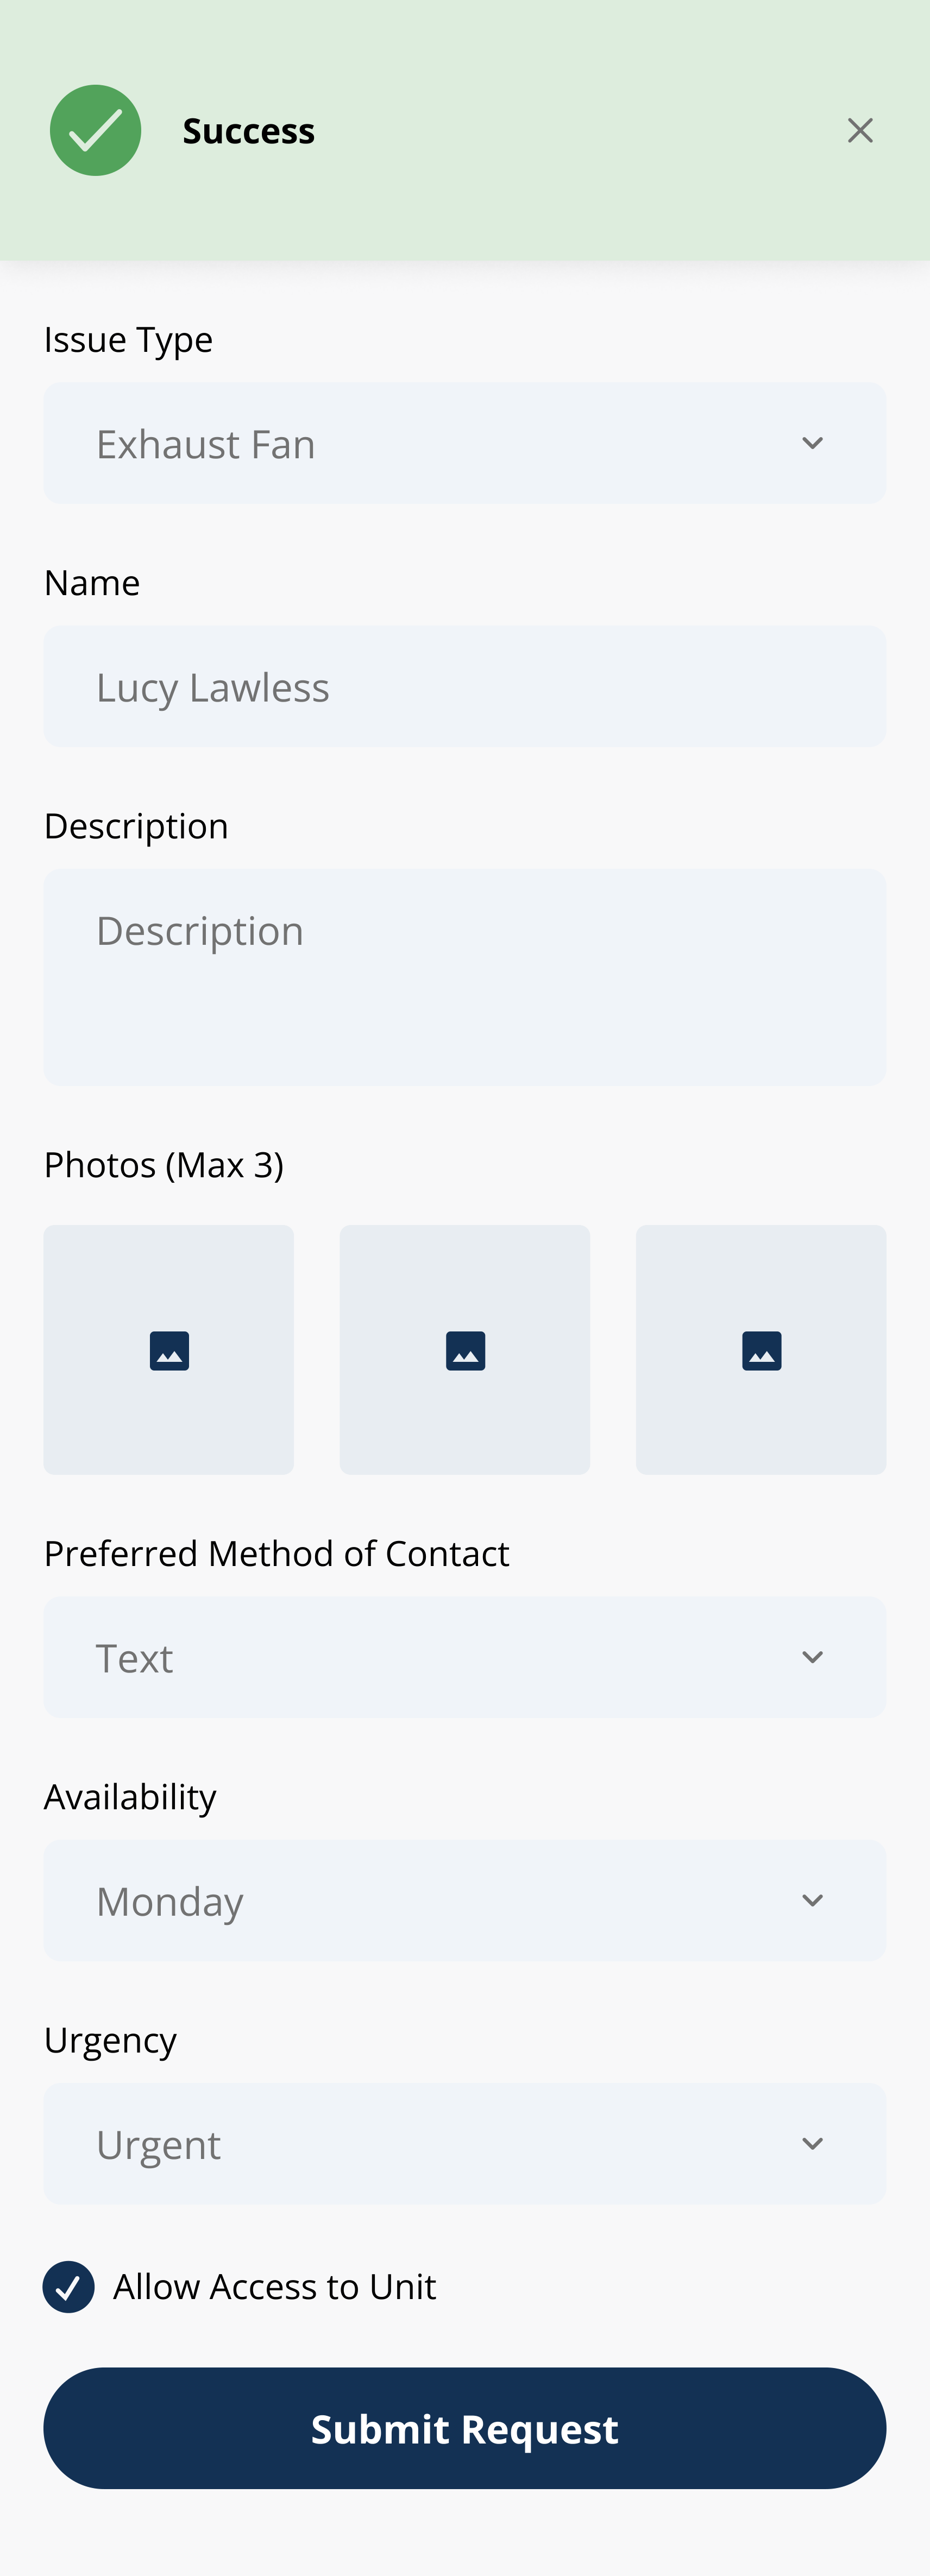
After you tap Submit Request, the success message confirms your request was submitted.
9Step 9: Confirm the request appears in your submitted requests
- Wait for the success confirmation.
- Open My Tickets or your request list and confirm the new request appears.
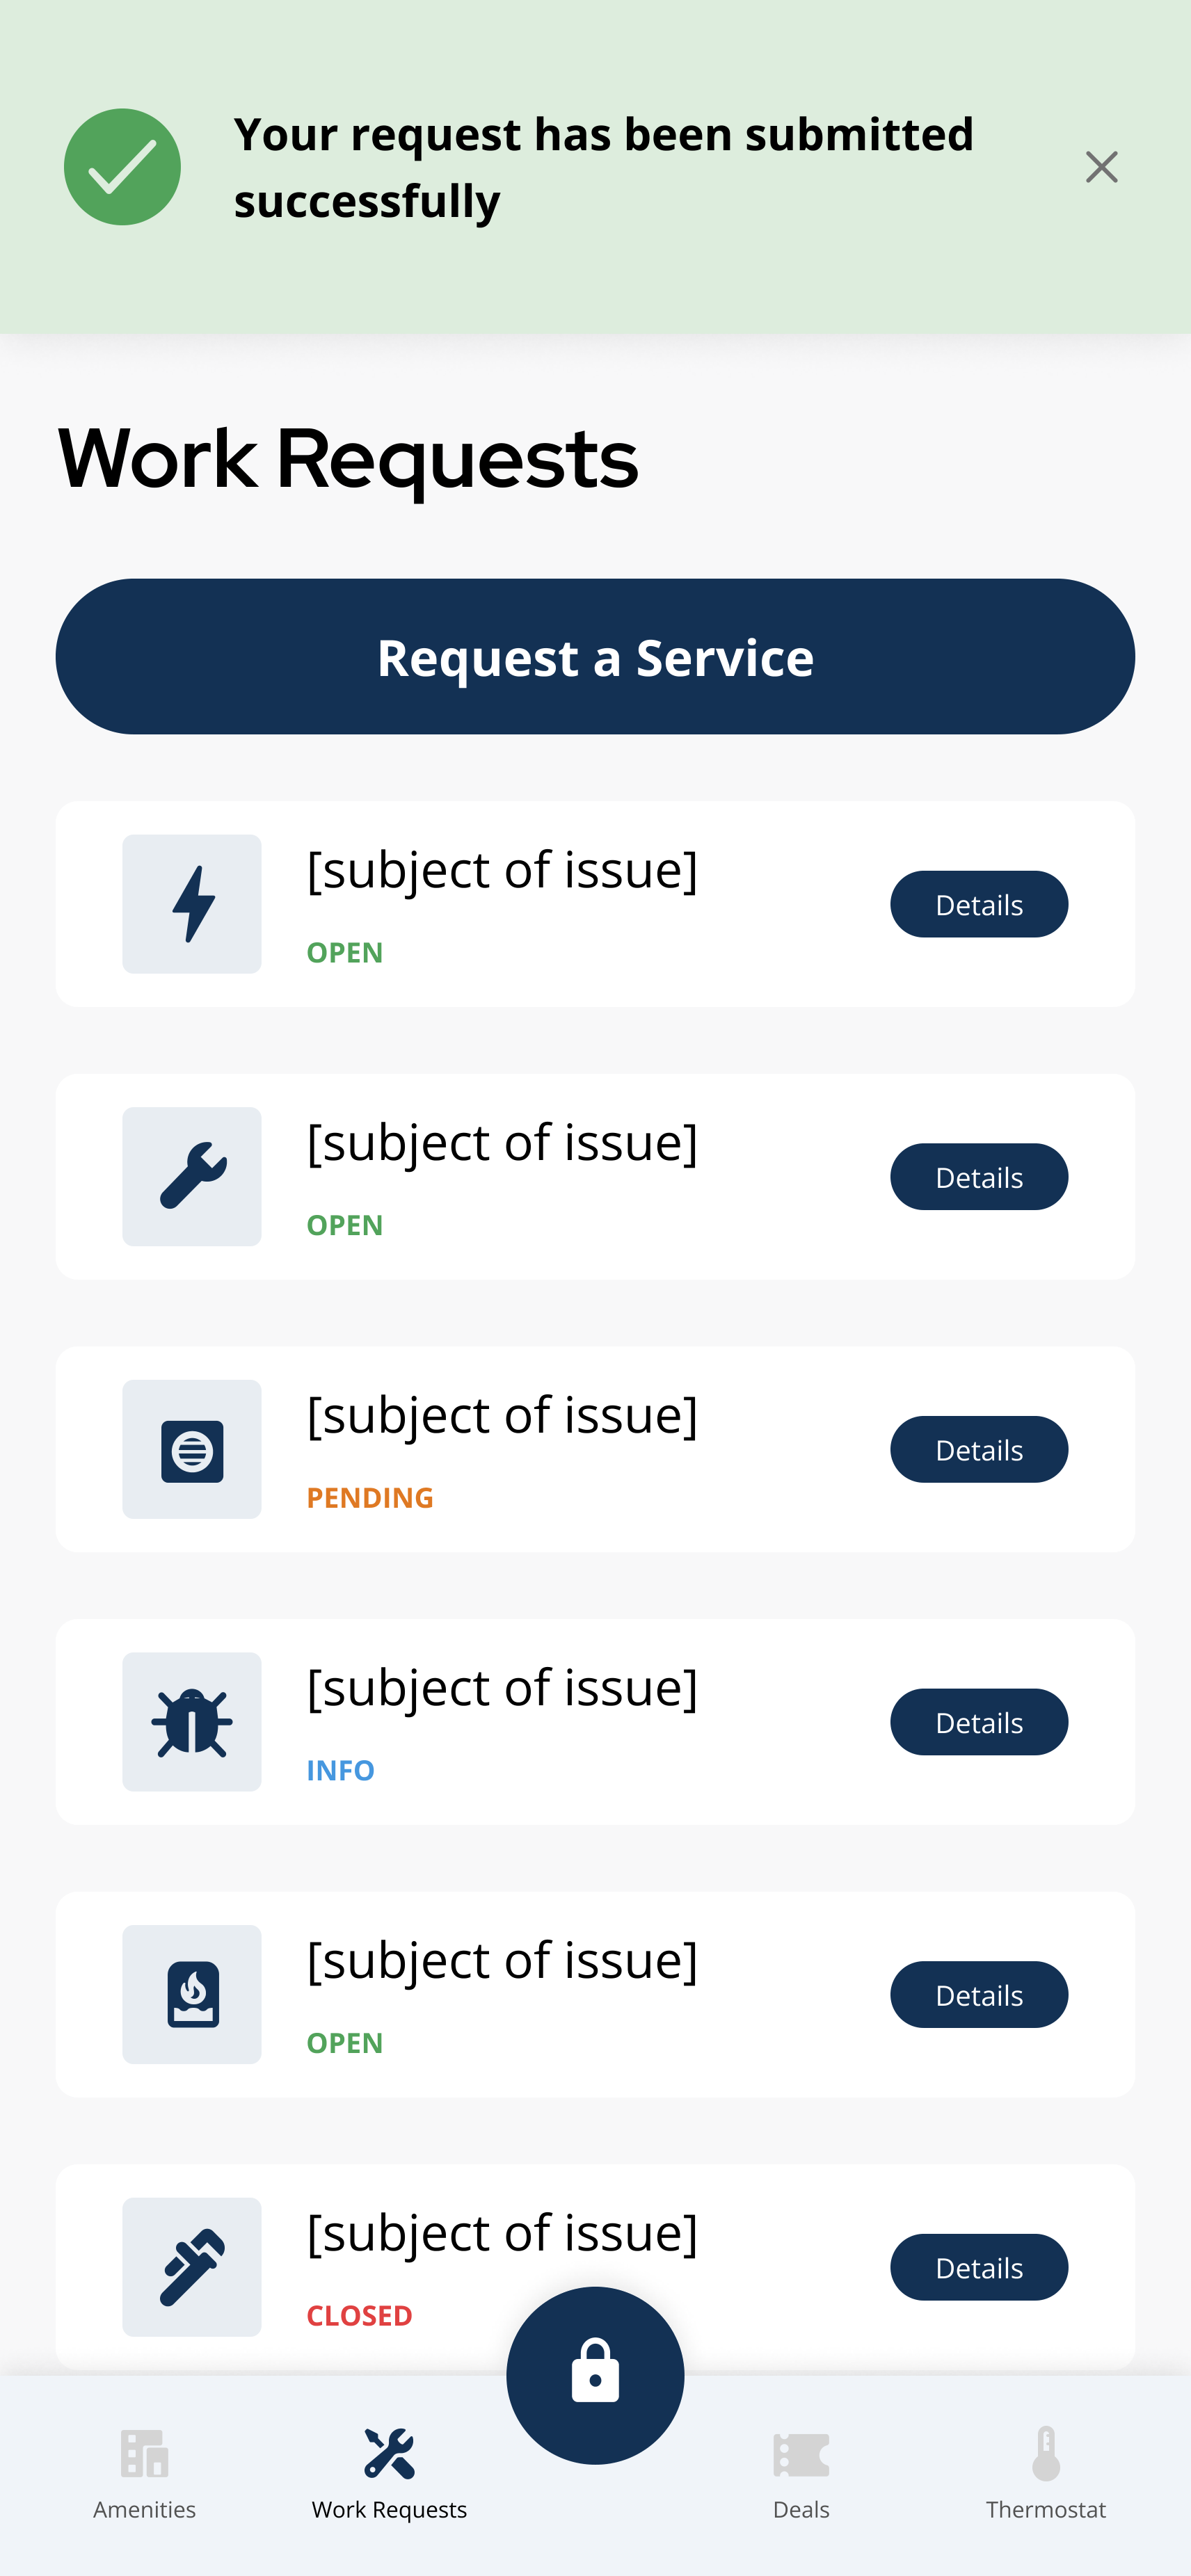
After submitting, your request appears in the Work Requests list with a status label.
Before submitting a request▾
- Include a clear description of the issue and where it is located.
- Add photos if they help show the problem.
- Include access notes or availability if your building asks for them.
- For urgent or unsafe issues, follow your building's urgent maintenance or emergency process instead of relying only on an app request.
- Available categories and required fields depend on your building setup.
If you cannot submit a request▾
- Work requests may not be enabled for every building.
- Required fields may be missing — check for category, subject, description, or contact details.
- Photo upload or unit-access questions may fail if the app cannot attach files or your building does not support that workflow.
- Property management controls work request availability and workflow.
- See I Cannot Submit a Service Request if the form will not submit.
Related articles
Work Request Details and Chat
1 min read
View work request details, status updates, and chat messages in the Grata app when your building enables them.
Close or Cancel a Service Request
1 min read
Mark a maintenance request as resolved or cancel one you no longer need — both happen from inside the request...
I Cannot Submit a Service Request
1 min read
Request won't submit? Open Work Requests, tap Request A Service, fill required fields, check connectivity, res...
Work Request Statuses
1 min read
Understand common work request status labels in the Grata app and what each status means for your ticket.
What Grata does and does not control
2 min read
Use this guide to complete resident tasks in the Grata app.